Table of Contents
Record Screen Windows 10
Today we will see how to record screen on Windows 10 on video without installing any specialized free screen recording software.
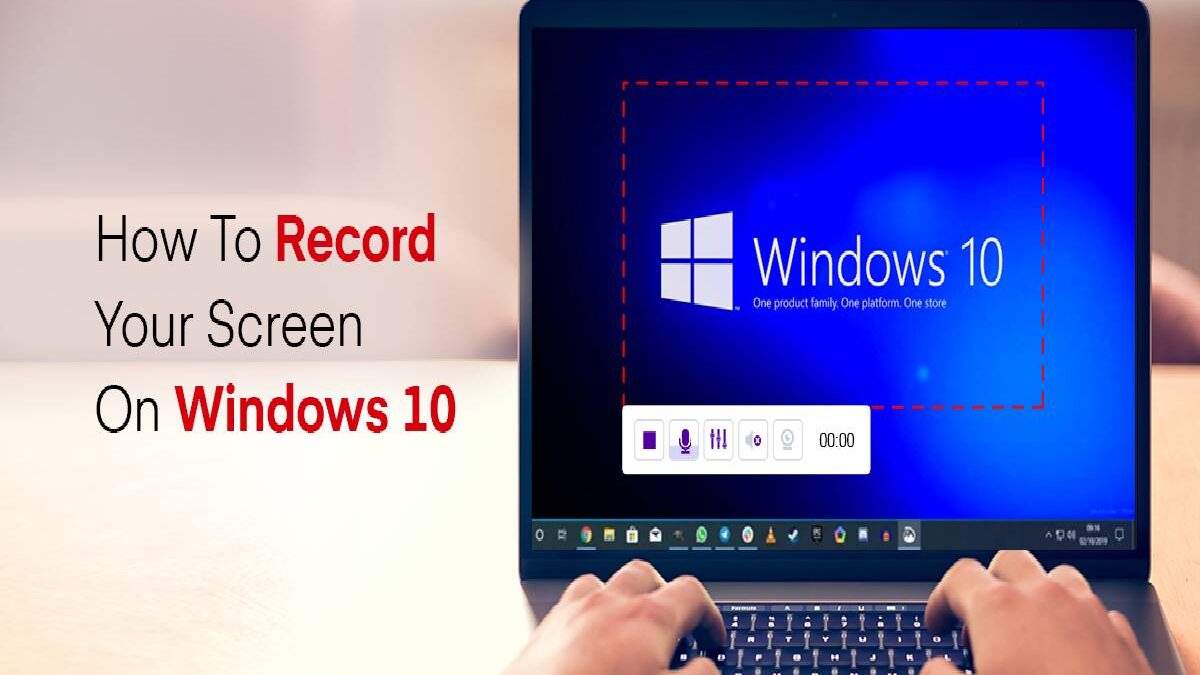
1. Open the Game Bar
- We will not use any external application, but we will rely on the Game Bar.
- A toolbar with utilities for gamers, such as Game Mode, video recording or live broadcasting.
- To open the game bar, press the Windows and G keys on your keyboard simultaneously.
- Windows 10 automatically detects when you are in a game, and if not.
- Here you must first confirm that it is a game by checking Yes, this is a game. Check the box to open the game bar.
2. Activate the microphone, if you want
- By default, game mode video recording records the game screen and audio, i.e. Windows.
- If you register a tutorial and want to narrate what you are doing in person, activate the Record with the microphone box.
3. Start recording screen in Windows 10
- You have everything ready to start recording. Hit the record button.
- You will have a three-second countdown, and then it will begin to video what is seeing on the screen.
- Keep in mind that the recording mode links to a single application, so it will not record other applications.
4. For recording
- While recording, you will be shown a floating window showing the recording time and controls to stop recording.
- Activate or deactivate the microphone and change the location of the authorities. Once you have finished the video recording, press the Stop button.
5. Look at the result
- When the recording is finishing, the Windows 10 Xbox application will open, showing the video you just recorded.
- Here you can play it to see how it turned out, change its name, shorten its duration or delete it if you are not convinced.